Passion In Purple
A small insight and guide on how I painted the Passion in Purple tulip.
In this story I will take you through the painting process of the "Passion in Purple" painting. I don't intend to provide a lesson on how to paint, but this is instead intended to share a little bit from the behind-the-scenes, from my own process. Hoping that at least some of it will be useful, just as the information others have provided on their own processes has been of great value to me. Let's call this a little "giving back".
At the end of the story, you'll also find a list of some of the materials I used to create this painting.
It took me a while to find the perfect subject to paint for the mood I was in at the time. It had to be something a little bit more daring in terms if color palette and somehow the violet of a tulip I received as a gift, which I photographed to use as a reference for a painting, just seemed the perfect one.
The first step was to find the right shot. I had taken several pictures, from different angles. I settled on one and proceeded with a graphite sketch.
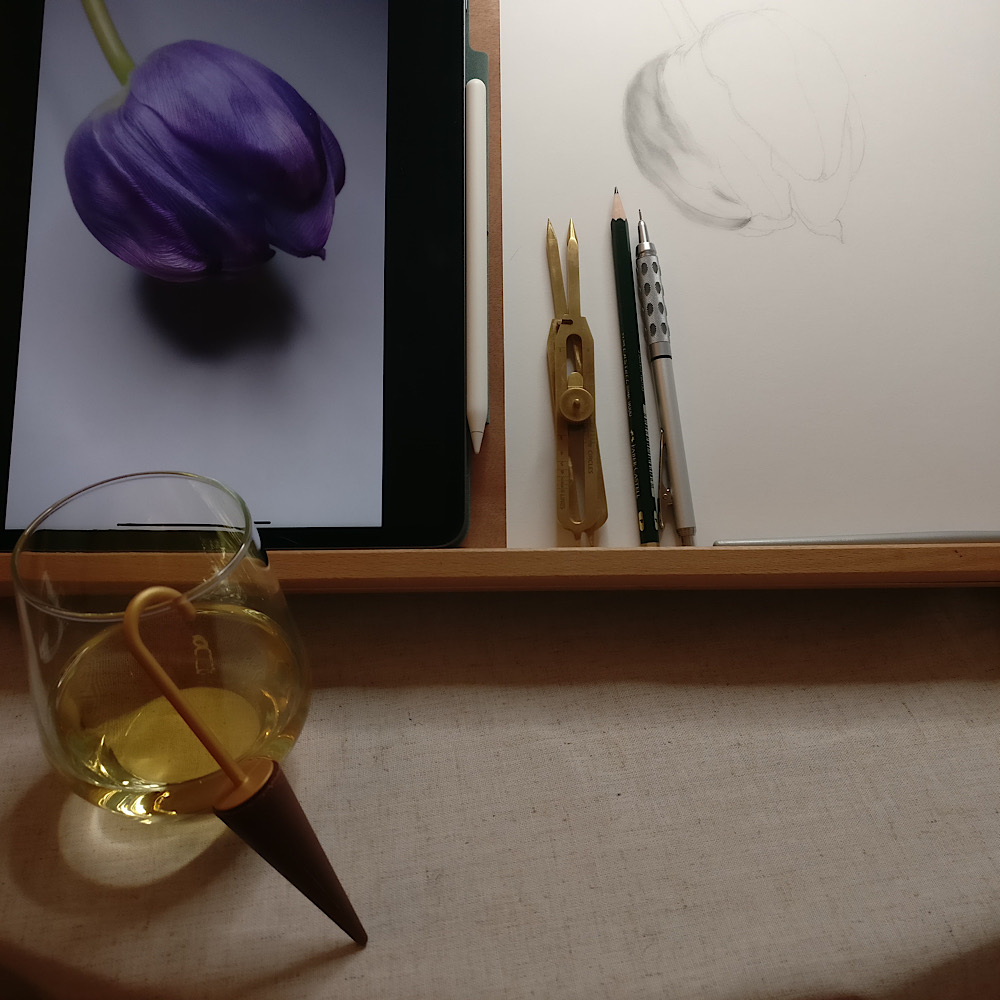
The first stage of the drawing.
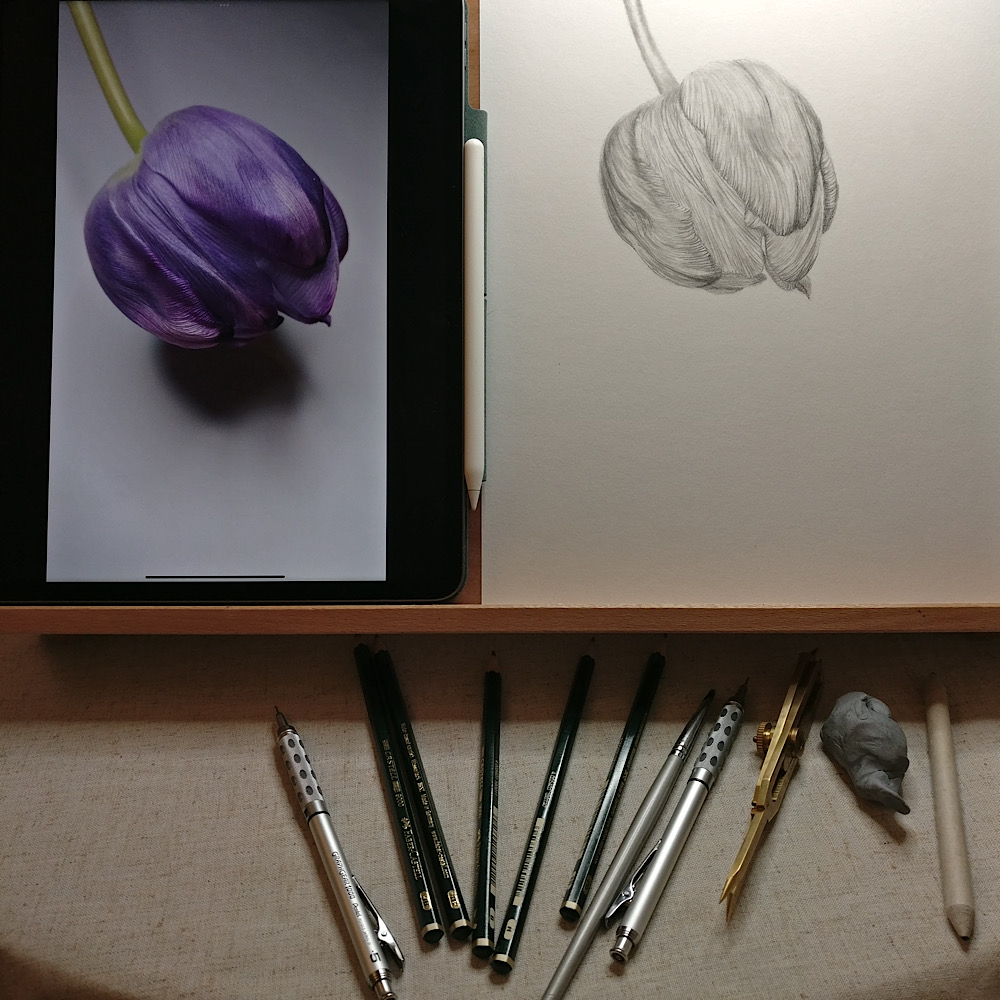
A sip of wine later.
After drawing the sketch of the tulip, I then traced the outlines and most important features on a transparent sheet of paper with a red ink pen. For those not familiar with this technique, you'll find out right away why I did this.
You see, sketching your subject directly on the watercolor paper on which you plan on actually painting is not ideal and rather not recommended in the botanical illustration world. In general, I might say, unless you plan to keep those graphite lines and not remove them before layering your color.
And that's because with each attempt to remove the graphite with an eraser, the integrity of your paper will suffer and the application of the watercolor, the end result, as well.
Therefore, one would sketch the subject, and then transfer it to the watercolor paper: either by transferring it with the use of a transparent paper as demonstrated in this case, or by tracing it with the help of a light tablet (as I will be demonstrating in another story).
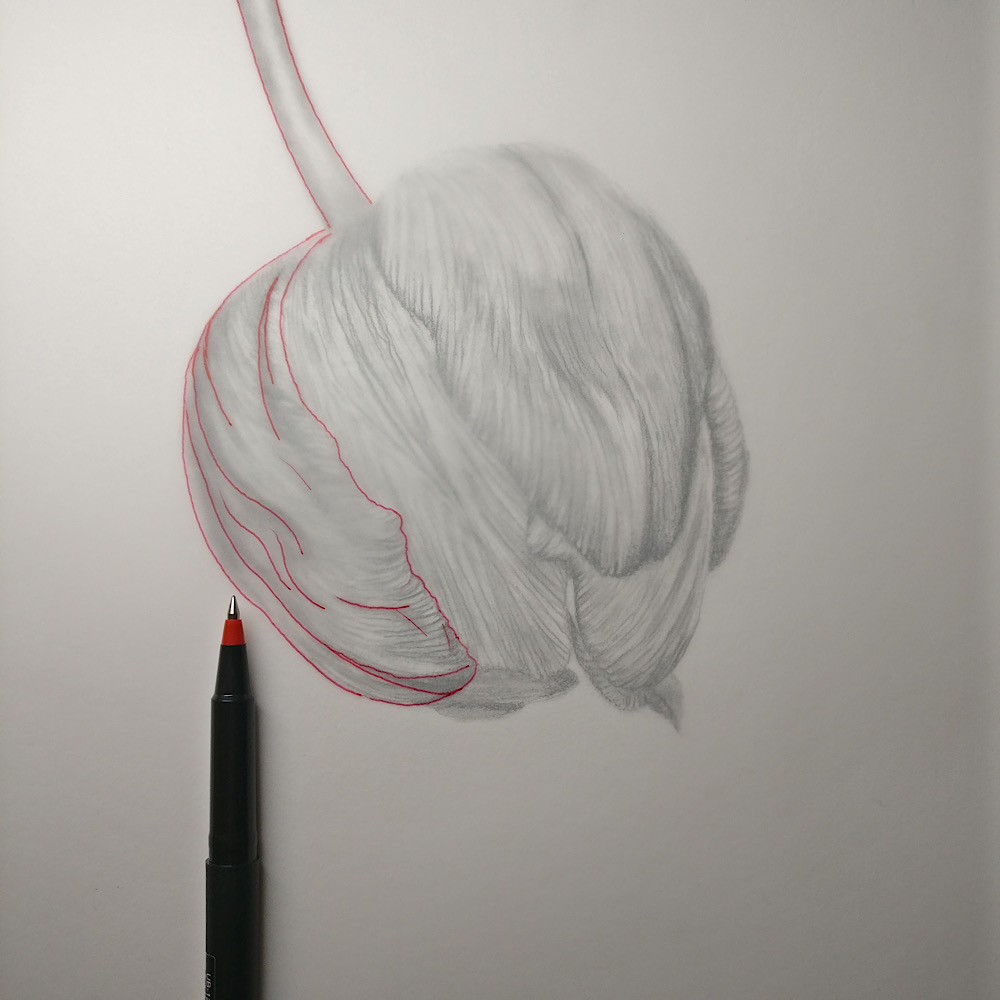
The first few traces.
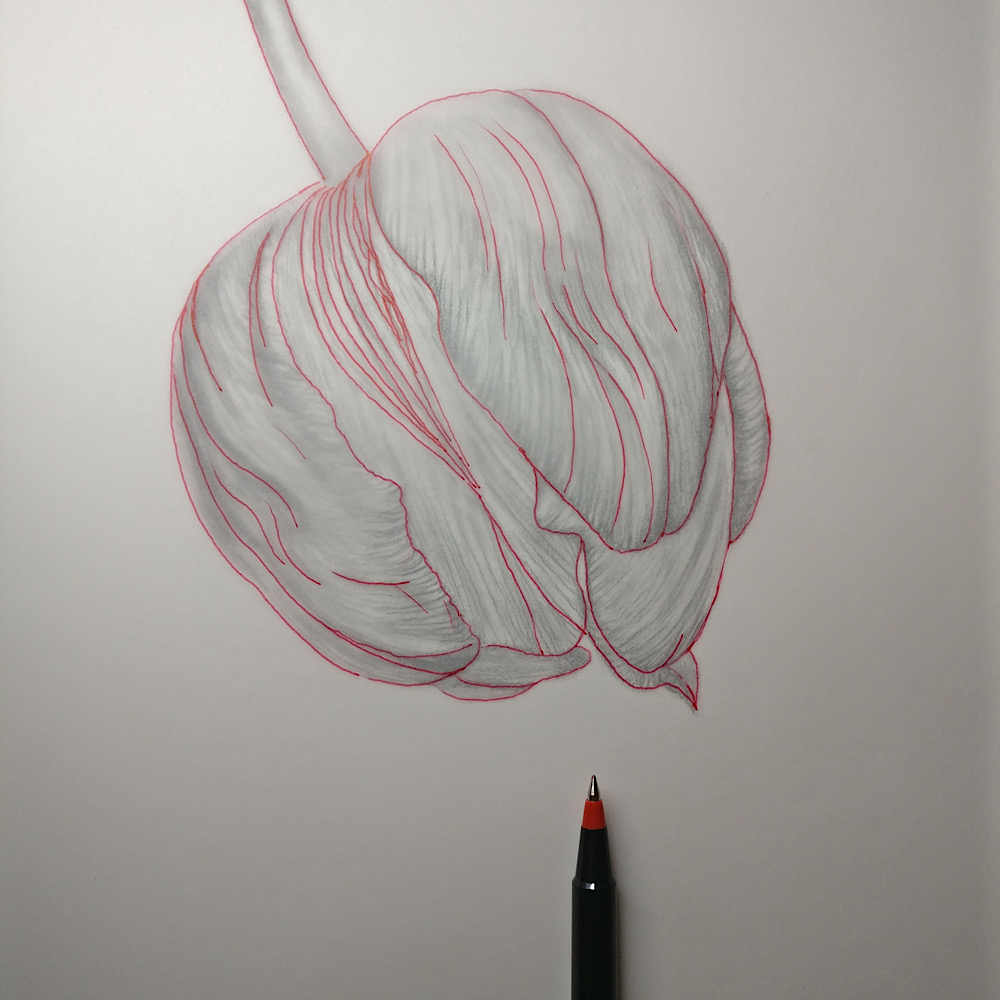
The tracing is now complete.
Once you have traced your drawing, you will then have to turn your paper around and trace those lines on the back of the transparent paper, again. This time, with an HB graphite pencil.
Then take this transparent sheet of paper and place it carefully over the watercolor paper on which you plan to paint, with the graphite tracing facing it (down). Secure it in place with some tape, to ensure it doesn't slide off as you follow the next steps. Take another pen or pencil and now trace over the first trace you made (in my case, the red pen trace). Don't press too much, just slowly and lightly. Avoid denting the paper. This is to help push the graphite from the back of the transparent paper on the surface of the watercolor paper. Trace everything and check once in a while if you're happy with the transfer.
As soon as I have finished tracing, I then take a soft kneaded eraser and I gently press the graphite lines to lift the excess and leave only what I think is sufficient for me to follow in order to lay the first color glazes. This will ensure that the graphite will not be smudged nor seen through as I paint.
In this case, I chose to start with the veins on the petal, as to establish the form. I could have started instead with a wet on wet wash, however it's always good to experiment with different techniques and so I chose to seize the opportunity.
The rest of the color glazes were layered through multiple sessions as each glaze had to be made with great care as to not spread the fine lines or remove them and the previous layer had to be completely dry.
Although some may achieve the same result in a day, it takes me multiple days to do it and the entire process involves studying the subject, taking notes, reference photographs, a sketch, a drawing, the tracing, the actual painting in multiple sessions.
Yes, it's a lengthy process that I very much enjoy and each time I learn something new. Not only about the subject, the techniques, the colors, but about myself. Most importantly, perhaps.
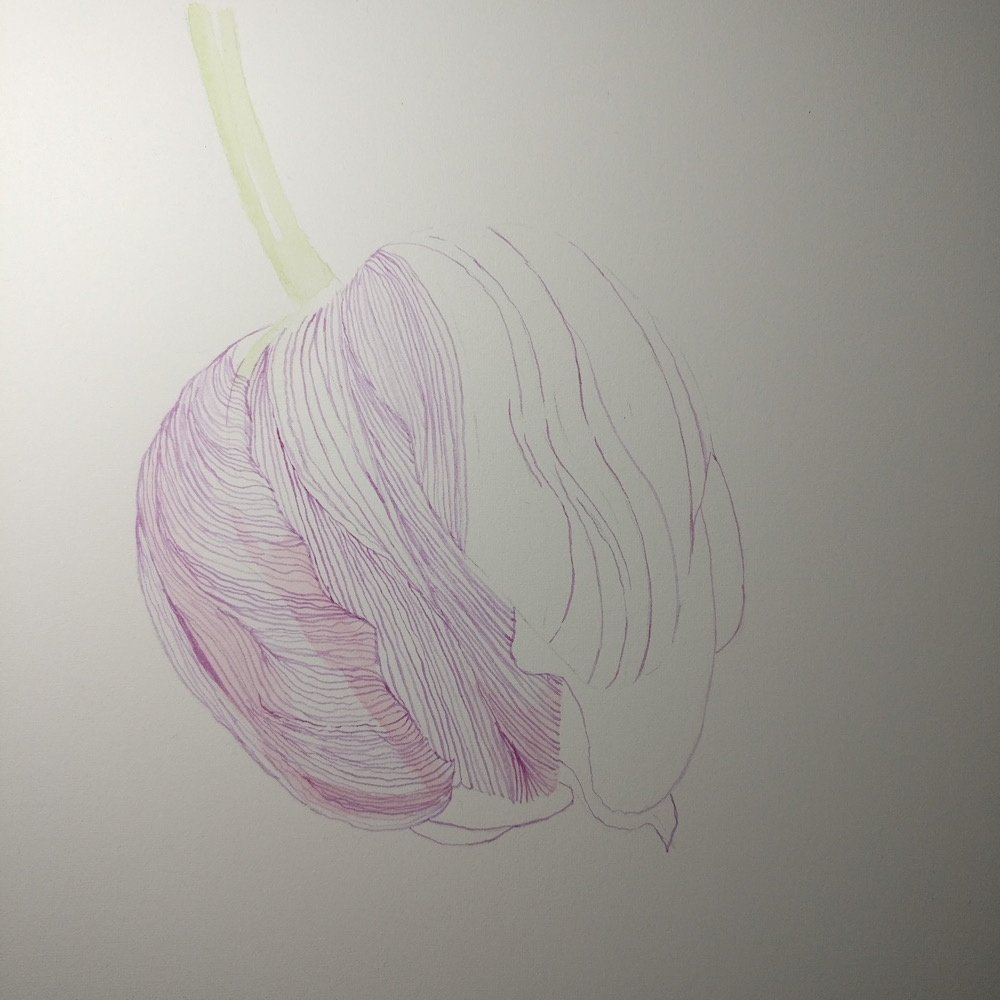
The first watercolor details.
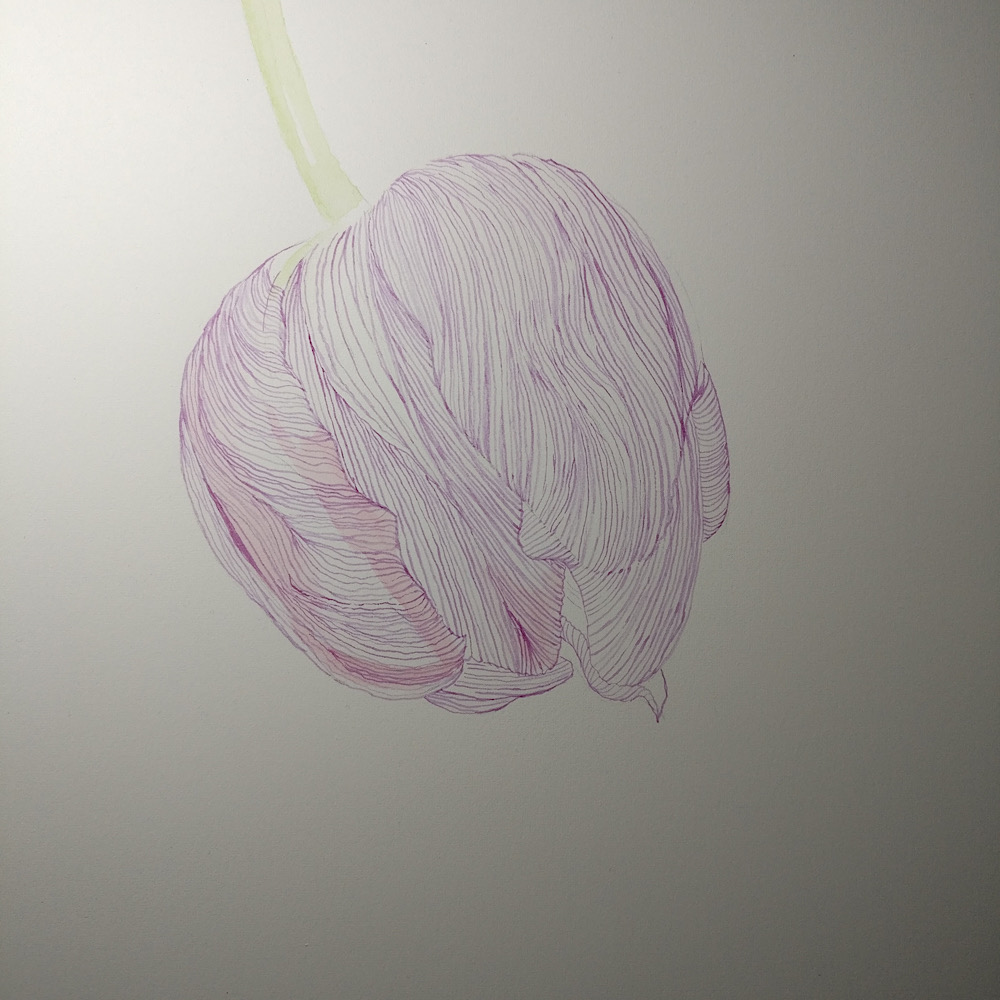
My main guides are now in place.
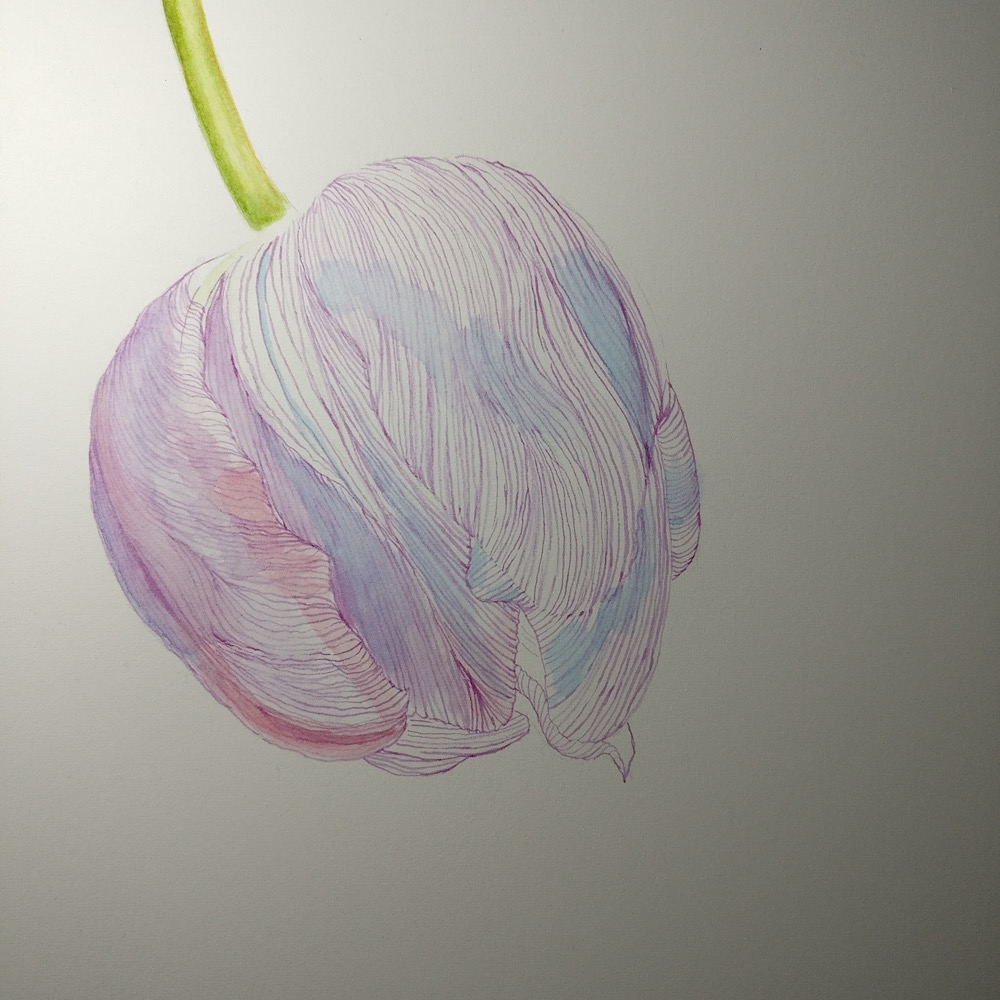
Happy to lay the first of many, many glazes.
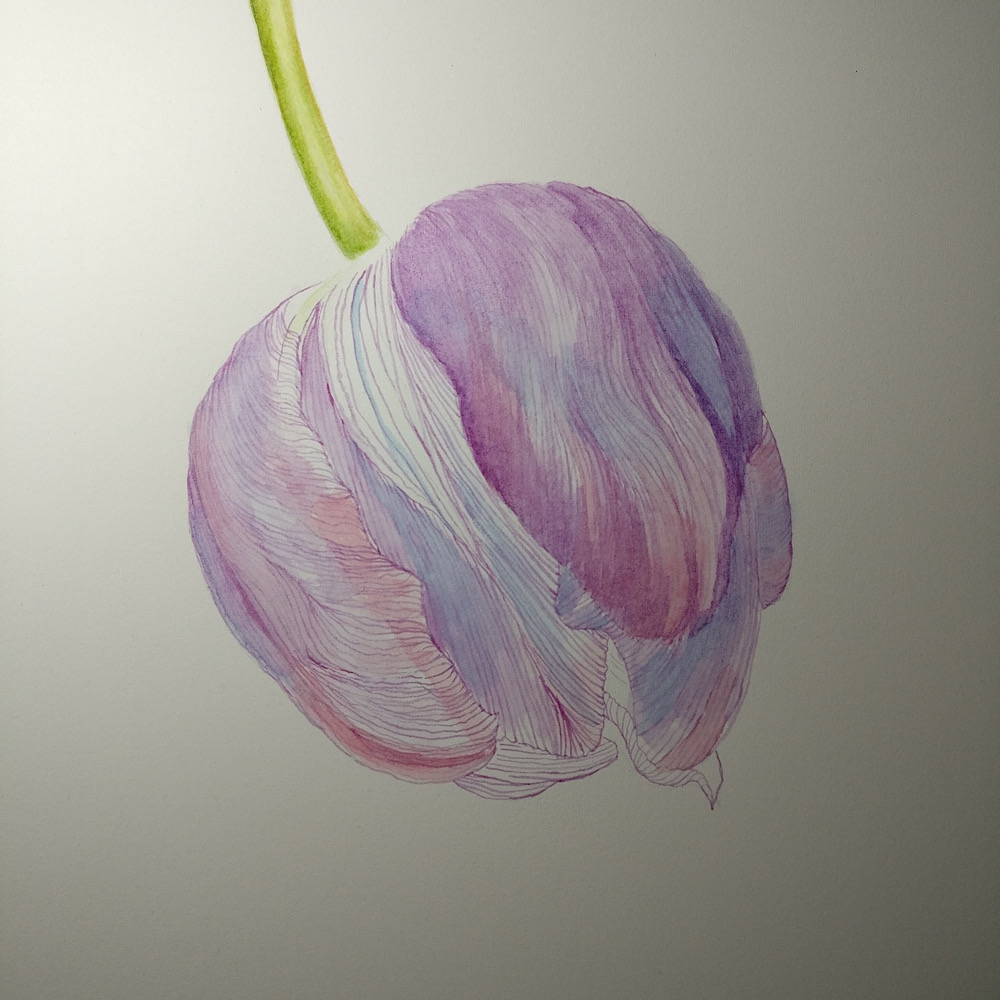
I can't tell you how much I enjoy layering all the color glazes!
And, finally, this is the final stage, as scanned and cleaned by removing the background digitally (no other color modifications were made). Any differences in color noticed from the progress shots to the final one are only due to the artificial light I use at evening and night when I can afford to spend more quality time with my paintings. Perhaps I'll get more natural daylight time in summer, but that all depends on how much the garden will have me as hers throughout the short but lovely summer we get to enjoy here.
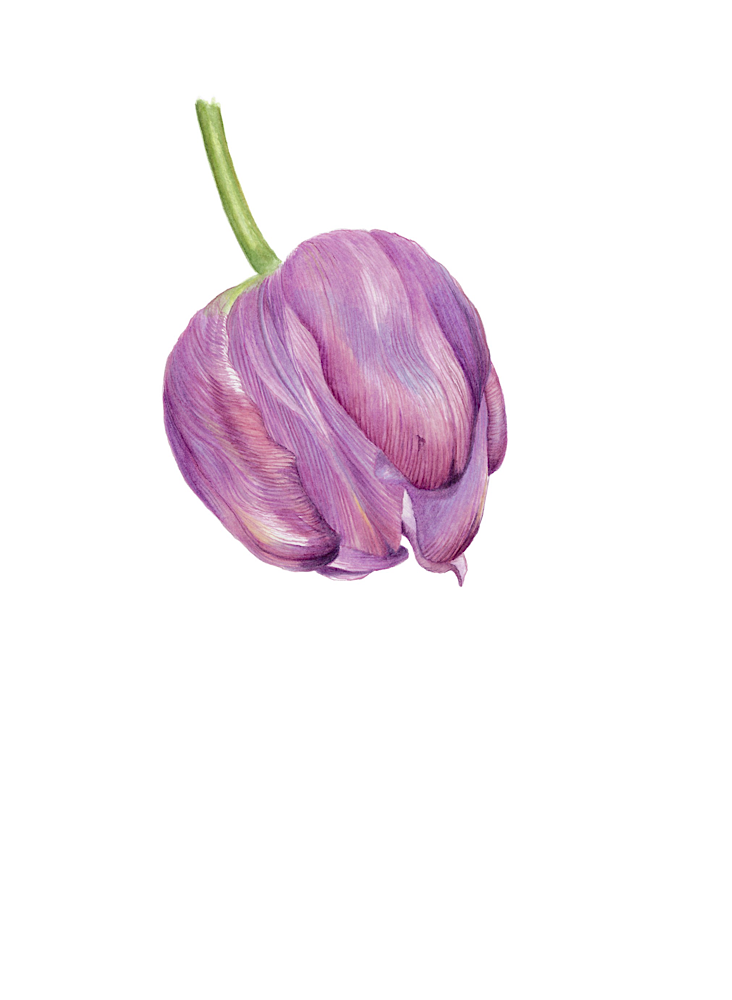
If you have found this story useful, I would love to hear from you, so please leave a comment on this post or use the contact form. I'd also love to see your tulips! I suggest you use your own reference pictures or a live specimen, as that brings you so much closer to your subject and you get to see so many more details.
Remember that all images appearing on dianadonisa.com are the exclusive property of Diana Donisa and are protected by international copyright laws. The images may not be reproduced, copied, transmitted or manipulated without my written permission. Thank you!
And, finally, here is a list of some of the materials I used for this painting and books I found inspiring and that I recommend.
If you have art supply stores nearby, I suggest you support them and buy local. Below are the links to the regional Amazon websites, where you can also purchase them. They are affiliate links so by shopping using the links below, you’ll also be helping me, without any cost to you.
-
"Botanical Illustration from Life: A Visual Guide to Observing, Drawing and Painting Plants" by Isik Guner: US | Germany & Austria | UK
-
Table easel: US | Germany & Austria | UK
-
Tracing paper: US | Germany & Austria | UK
-
Light pad: US | Germany & Austria | UK
-
Watercolor paper, 100% cotton, hot pressed: US | Germany & Austria | UK
-
Graphite pencils: US | Germany & Austria | UK
-
Mechanical pencil: US | Germany & Austria | UK
-
Kneadable eraser: US | Germany & Austria | UK